Rather delicate work right off the bat, but I somehow managed to separate the skirt without badly damaging anything.

Test fitting the resculpted chest armor and... LIKE A GLOVE.
It's almost as if Bandai already had the Dominions in mind when making the molds.
It's almost as if Bandai already had the Dominions in mind when making the molds.

V-fin is nice and sharp, and painting the core Raphael is mostly done.
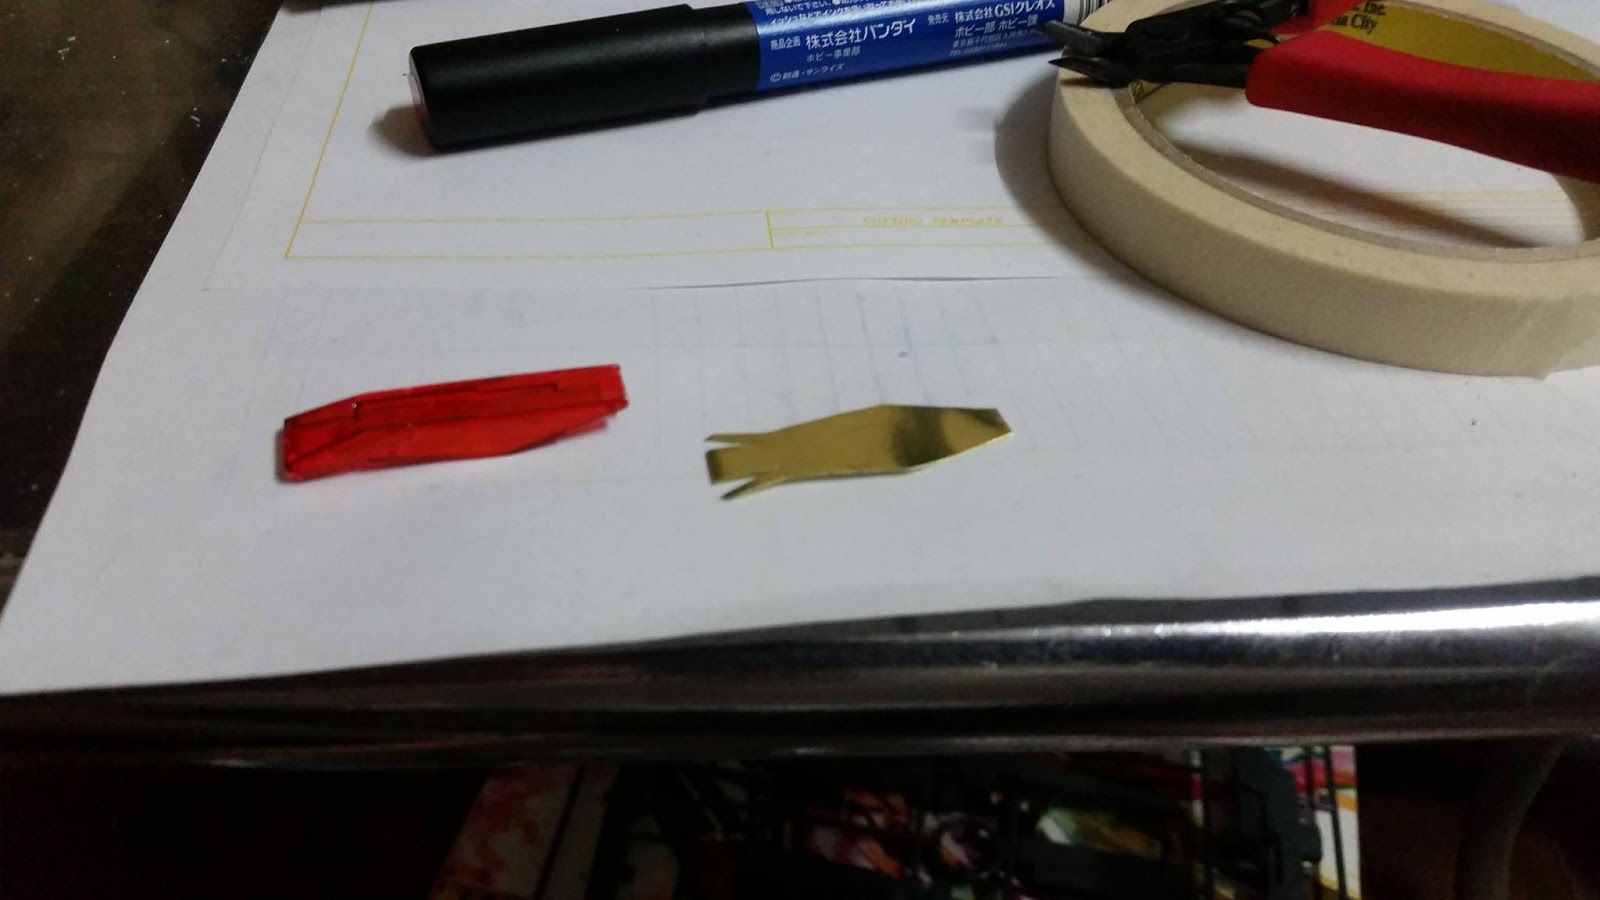
More cutting. It's surprisingly exhausting work, but definitely an easier alternative to scratchbuilding.
Test fit while waiting for the cement to cure. Looks pretty good...
More cutting. It's surprisingly exhausting work, but definitely an easier alternative to scratchbuilding.
Test fit while waiting for the cement to cure. Looks pretty good...

Another test fit!!
At this point, having finally worked with it firsthand, I have strong suspicions the Dominions variant was actually the original design of the Raphael and not the movie version.
At this point, having finally worked with it firsthand, I have strong suspicions the Dominions variant was actually the original design of the Raphael and not the movie version.

More sculpting! Leaving these as-is until I figure out how to go about building the GN Bazookas.

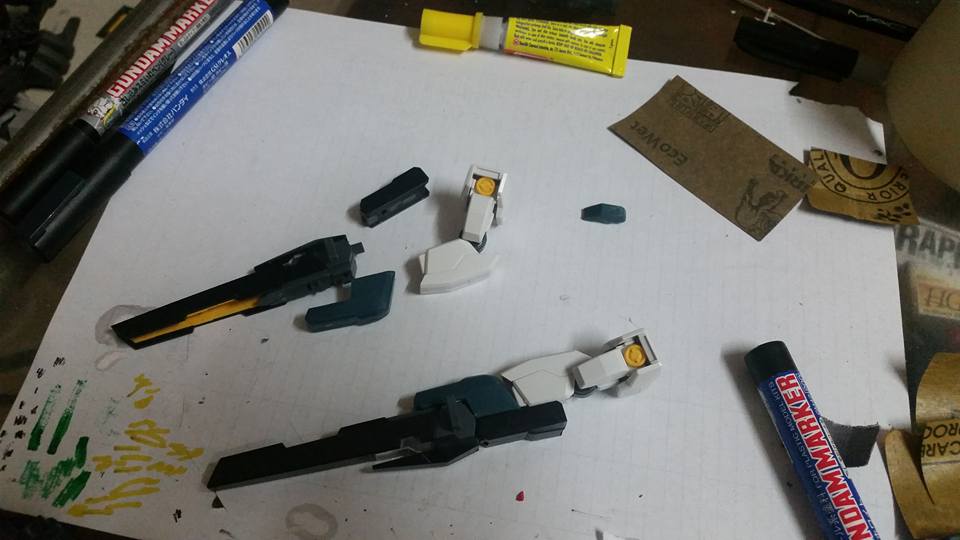
Finally started working on the backpack and painting the armor.
Messed up a bit here and there, but a few more coats ought to fix that.
Messed up a bit here and there, but a few more coats ought to fix that.


The GN Claws are looking nice. If only all the painted parts came out this well.

Test fit before painting the parts for the GN Bazooka II.
The Seravee shoulders need to be modded to look like Seravee II shoulders first though.
The Seravee shoulders need to be modded to look like Seravee II shoulders first though.
The external armor is nearly done.
I'm still figuring out how to go about sculpting the backpack, but it's finally starting to take shape.
I'm still figuring out how to go about sculpting the backpack, but it's finally starting to take shape.

It's fairly obvious I'd need to use Seravee's arms if there's to be any articulation.
That also means the shoulders would have to be modified to match Seravee II's though.
That also means the shoulders would have to be modified to match Seravee II's though.


I'd been trying to put off this part for the longest time, but it's time for some scratchbuilding.
Fortunately, it went better than I thought was possible seeing as I still have limited experience working with pla-plates.
Fortunately, it went better than I thought was possible seeing as I still have limited experience working with pla-plates.

Now that the backpack is nearly finished, it's time for another test fit!
So far, so good...
So far, so good...

More detailing on the GN Bazookas.

Back to the backpack.
I decided to go with a green GN Drive cuz genuine Solar Reactors are obviously better, amarite?
Drives 2 and 3 are still in planning stages, but it'll happen.
...I think.
I decided to go with a green GN Drive cuz genuine Solar Reactors are obviously better, amarite?
Drives 2 and 3 are still in planning stages, but it'll happen.
...I think.


With this, the external armor components are complete.
The rest of the backpack is almost ready for assembly, but I think I'll leave the paint to dry for a couple more days.
The rest of the backpack is almost ready for assembly, but I think I'll leave the paint to dry for a couple more days.

Now that the GN
Bazookas are finally finished, just a few backpack parts are left.
Those will need a couple more coats of paint though, so it'll take maybe
another week.

This took twice as long as my usual builds. Actually five times that if
you count the days needed to cure the paint, but it's finally finished!!
My greatest work yet...and it can stand. Huzzah for that.
I was worried it'd be too backheavy, but it seems the long bazooka barrels balance everything out.
I was worried it'd be too backheavy, but it seems the long bazooka barrels balance everything out.

Finally got my hands on Virtue's Bazooka.
Fortunately, I've got spare GN Drives from Raphael. There's still a little scratchbuilding to do, but this shouldn't be too difficult...
Fortunately, I've got spare GN Drives from Raphael. There's still a little scratchbuilding to do, but this shouldn't be too difficult...


Yes, the Dominions configuration is all done.
I did promise to make a transformable Seravee II though. I think I've put off making the parts for that gimmick long enough.
I did promise to make a transformable Seravee II though. I think I've put off making the parts for that gimmick long enough.

Welp,
I totally forgot to take the external armor into account when
articulating the new legs... In my defense though, the original Seravee
wasn't all that articulate anyway.

Most of the parts for the swapping is done and Seravee II is finished! All that's left now is to paint the parts for the GN Bazookas.